2.5 Essential Technological Content Knowledge [TCK]
Hello Whirl
Now we are ready to start coding with p5.js! Typically the first program taught in a language is called a 'Hello World' program. However, since p5.js is built for drawing shapes and creating animations rather than text, we'll call our first program 'Hello Whirl'.
First, download this zipped folder containing the Hello Whirl Files by clicking the button below. Once the zipped folder is in your Downloads, open it up or extract the files to view its contents.
First, download this zipped folder containing the Hello Whirl Files by clicking the button below. Once the zipped folder is in your Downloads, open it up or extract the files to view its contents.
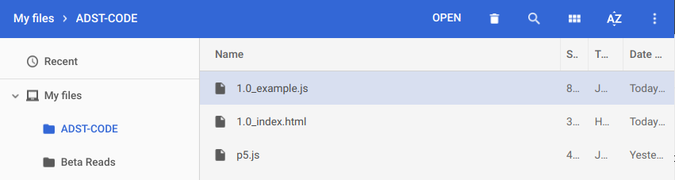
Inside you'll find two files: an HTML file called '1.0_index.html' and and Javascript file called '1.0_example.js'. Remember that the HTML is the 'body' and the Javascript is the 'brains'. Move both these files into the folder you created in the last section called 'ADST-CODE'. You should now see three files in the ADST-CODE folder:
- 1.0_example.js
- 1.0_index.html
- p5.js
Now let's talk about what each of these files do!
|
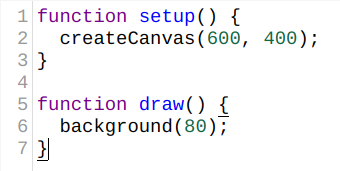
1.0_example.js
Though this is by far the tiniest of the three files, it is the one we will work with to draw shapes, code colours, and create animations with p5.js. It is the 'working brains' of our program and contains instructions for what we want the computer to do. Clicking on it should open it up in our plain text editor so we can edit the file. |
|
|
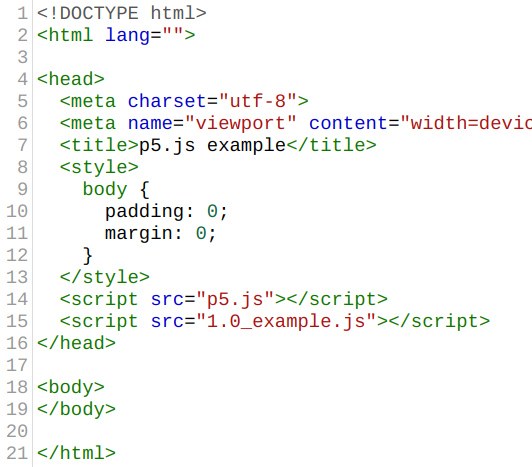
1.0_index.html
We discussed before how Javascript files can't stand on their own; they need an HTML file to 'call them into action'. That is exactly what this HTML file does. Essentially, it is just creating a blank web page on which we can display our Javascript code. The code may look a bit intimidating but for our purposes we only need to know about two of these lines: Line 14 and Line 15. Line 14 is an instruction to retrieve the p5.js library that we downloaded and which sits in the same folder as this HTML file. It will give us access to all the special functions it contains if we ever need to use them. Nothing will display on our screen because of this code but the computer will have all the information contained in that file in its 'working memory'. |
|
Line 15 of the HTML code is an instruction to retrieve the Javascript file '1.0_example.js' and run it so that we can see it displayed in our web browser. Note that this filename must be EXACTLY the same as the file we are trying to open; the slightest error or omission in the name will cause the computer to simply ignore that command because it cannot find the file.
p5.js
This is our library of special p5.js functions. We will not see it displayed anywhere but our '1.0_example.js' file will use functions from it and the '1.0_index.html' file will need access to it to retrieve those functions.
This is our library of special p5.js functions. We will not see it displayed anywhere but our '1.0_example.js' file will use functions from it and the '1.0_index.html' file will need access to it to retrieve those functions.
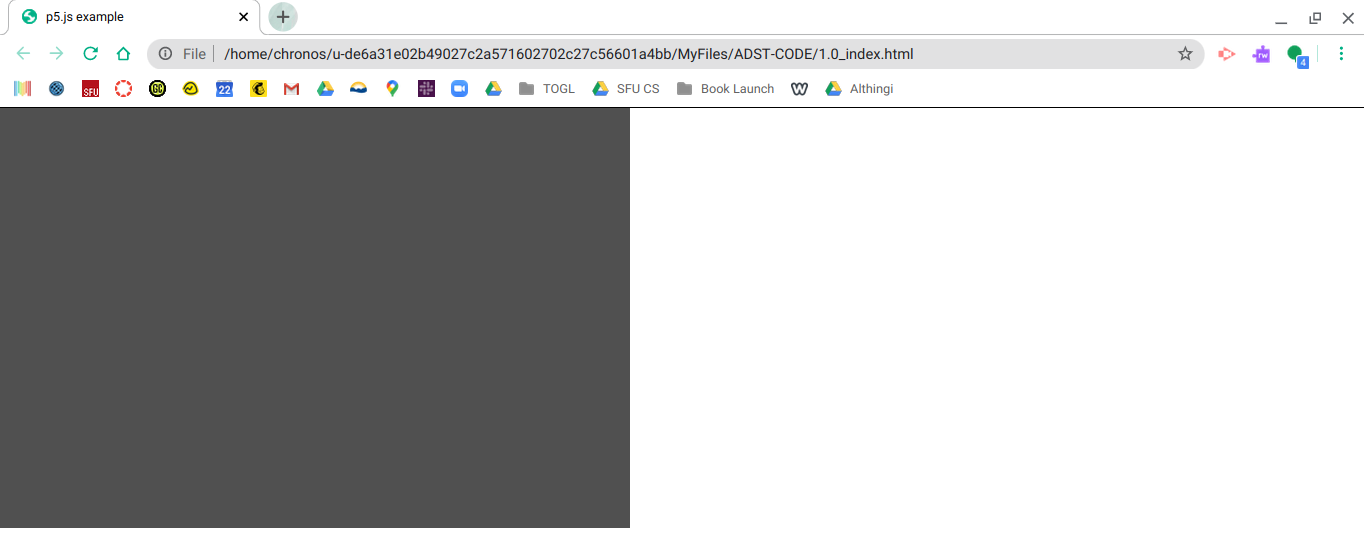
Let's run this example program and see what it does! We can't run the Javascript file '1.0_example.js' by clicking on it because Javascript files don't work by themselves; instead, click the '1.0_index.html' file to launch a new web page that will display our Javascript code. Once you click the HTML file your internet browser should open up a new tab and display a grey box.
|
Ok, so this is not the most exciting program in the world (yet) but it does work exactly like we asked it to. Let's look at the instructions we gave the computer and how our web page displayed.
The first function, setup(), happens once right at the beginning of the program. Inside setup() we have another function called createCanvas(600,400) which instructs the computer to mark out an area on the screen that is 600 pixels wide and 400 pixels tall. We could change the size of the canvas to any width, let's call it 'x', and any height, let's call it 'y', by changing the numbers in side the createCanvas(x,y) function. |
1.0_example.js
|
The next function we have is called draw() and it also contains a function. The function background(80) instructs the computer to colour the background of the blank canvas we created with a shade of value 80. Shades run from pure black (0) to pure white (255). If you change the value inside the background() function then the shade of the canvas will change.
Editing Code
Now that we have a basic, blank canvas displaying on a web page we can start to fill it with interesting things. The first shape well learn to 'draw' using p5.js is a circle. The function for drawing a circle is called ellipse(x,y,r) and has three parameters, or number values, that go inside. The value 'x' represents how many pixels we want center of the circle to be from the left edge of the canvas. The 'y' value represents how many pixels we want the center of the circle to be down from the top of the canvas. Last, the 'r' value specifies the number of pixels we want for the radius, i.e., the length halfway across the circle.
|
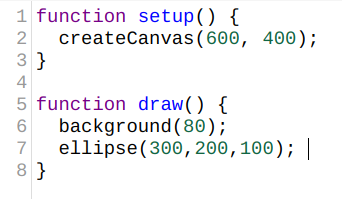
To edit our Javascript code we must first open the file '1.0_example.js' by double clicking on it. It should open by default in your plain text editor. This will allow you to add in this new function called ellipse(x,y,w) on line 7. A note of caution: Do not delete the curly brace that previously appeared on line 7 and now appears here on line 8. If you do, make sure to put it back in! Also know that the vertical line at the end of line 7 is just the mouse cursor and is not part of the code.
Here I have shown what this new function should look like in your code. The numbers 300, 200, and 100 mean that the circle should display 300 pixels over from the left of the canvas, 200 pixels down, and should have a radius of 100 pixels. |
The updated '1.0_example.js' file
|
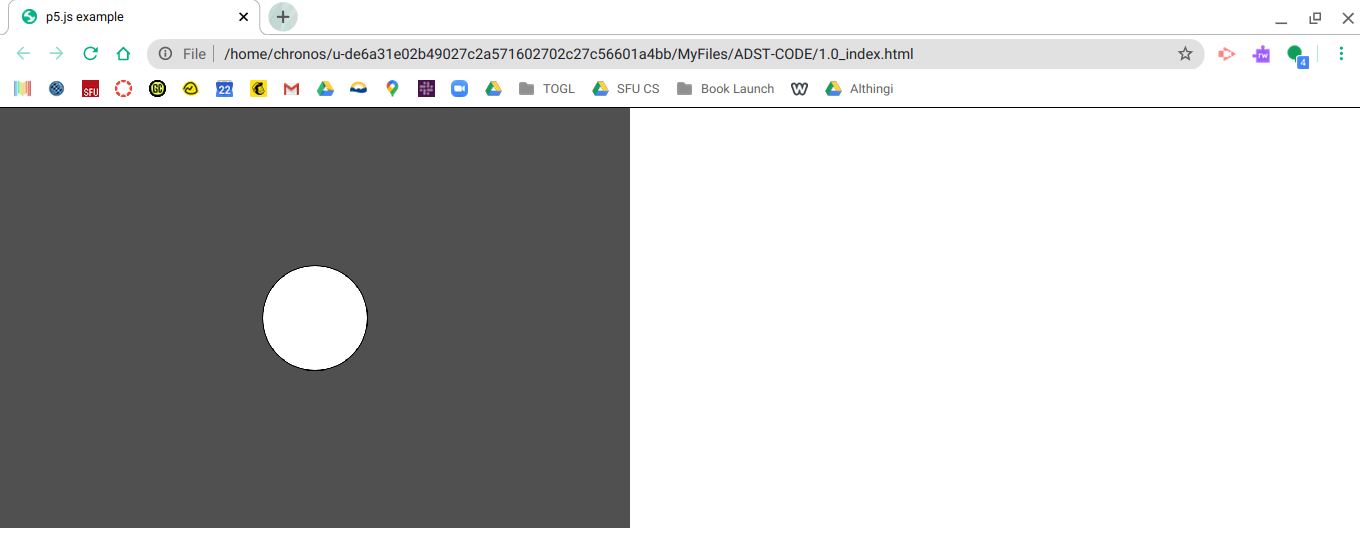
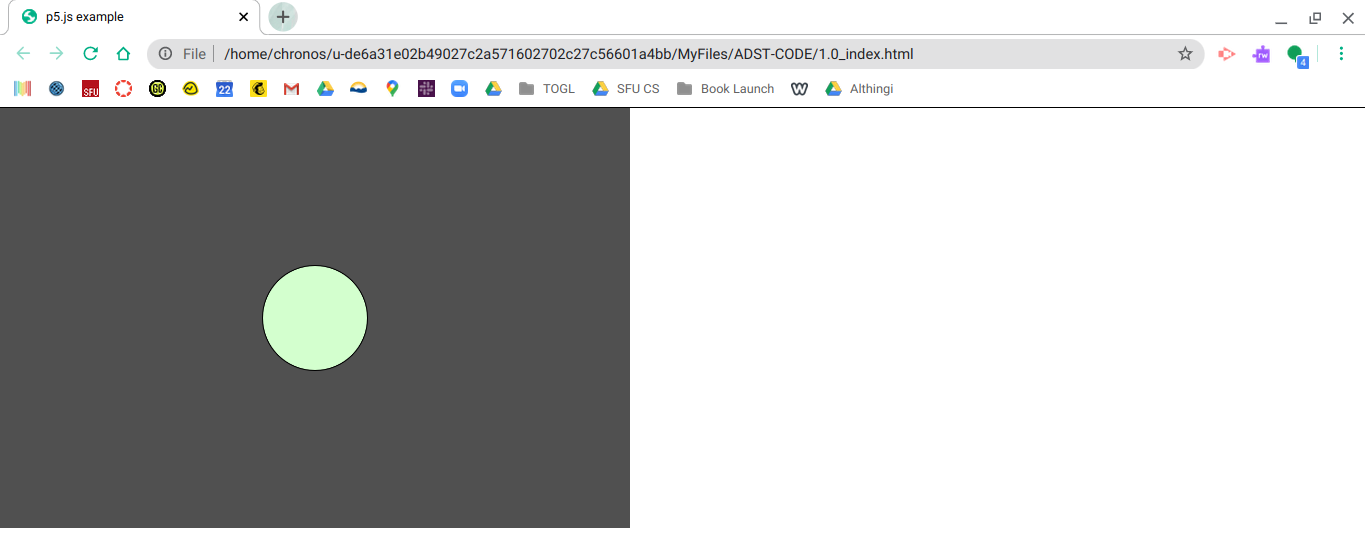
You might excitedly navigate back to your web browser to the view the previously blank canvas expecting to see a circle. This will not happen! First we need to do two things: save the updated '1.0_example.js' file AND THEN reload (or reopen) the '1.0_index.html' file. Once you do both of these things a circle should appear on your canvas as shown below.
Bodies were made to move! Get up and stretch before scrolling down!
A Splash of Colour
Let's learn how to do one more thing and then we'll play around with the program. Another useful function that p5.js provides is called fill(r,g,b) and it allows us to colour the shapes we draw. The values 'r,b,g' stand for the red, green, and blue values that we want to include. Each value goes from 0-255 and indicates the 'level' of that colour you want to include. For example, fill(255,0,0) would be all red with no green or blue. I prefer to select colours from an online colour palette website such as Color-Hex; this allows me to create beautiful colour combinations that work together.
|
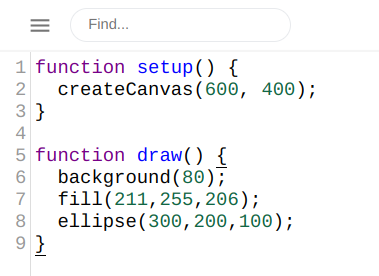
So, let's go back to our '1.0_example.js' file in our plain text editor and update it to include the fill(r,g,b) function. I am going to insert fill(211,255,206) on Line 7 which should give me a nice green circle. Here is what your code might look like.
To choose your own colour, go to Color-Hex and click on a colour. It will navigate to a page that will display that colour's 'r,g,b' values. You can also just play around and create colours of your own through experimentation! Once you've updated the '1.0_example.js' file, save it! Then go back to your web browser and reload (or reopen) the '1.0_index.html' file. If you used my colour it should look like this! |
|
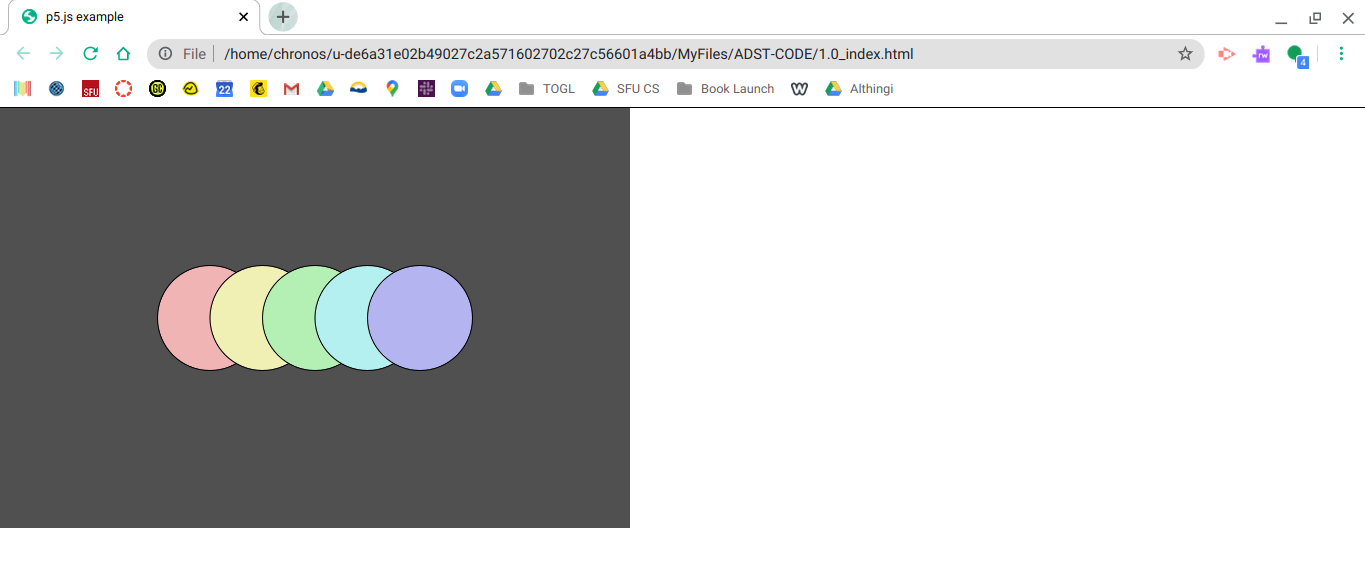
A Little Challenge
Now that you know how to edit your Javascript code by using ellipse() and fill() functions, see if you can re-create an image similar to the one shown below! Feel free to refer back to the instructions given earlier on in this section if you forget how ellipse() or fill() work.

|
Freeze & Reflect (2.5a):
|
